Technical consultation
We collect bills, connection details, the address, photographs and information about the roof or land. We clarify your objectives: savings, battery storage, backup or future expansion.

Professional installation means sound mounting structures, cabling, protection, configuration and documentation, as well as panels on a roof. Nectaria Solar coordinates the whole project and remains responsible after handover.
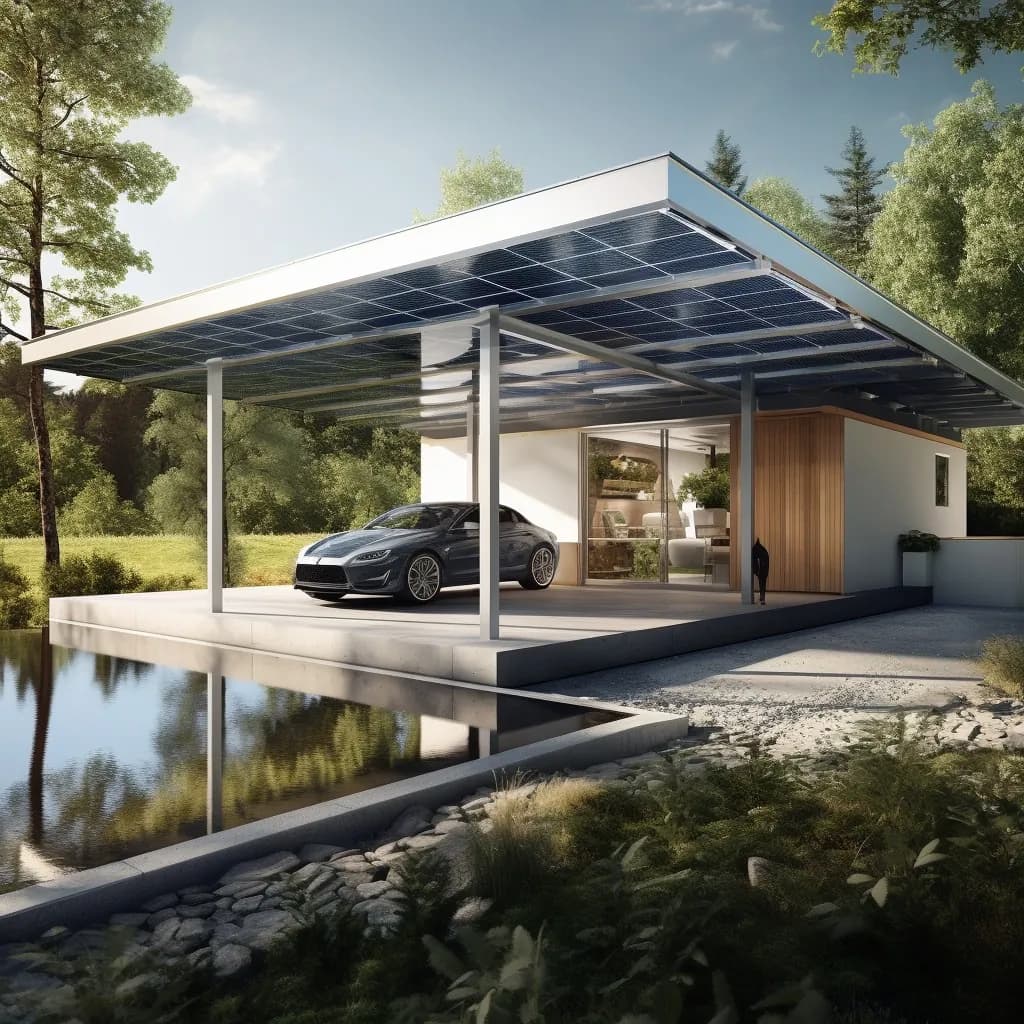
The quotation defines the exact scope according to system capacity and site conditions. The list below shows the elements we address in a complete project.
The precise sequence may vary for residential, commercial or storage projects, but the technical checks remain essential.
We collect bills, connection details, the address, photographs and information about the roof or land. We clarify your objectives: savings, battery storage, backup or future expansion.
We check usable space, orientation, shading, roofing, structure, cable routes, the electrical board, earthing and access for the work.
We define capacity, panel strings, inverter, mounting structure, protection and cables. For battery storage, we specify capacity, power and backup circuits.
You receive details of the equipment and work included, commercial terms and project stages. Once confirmed, we arrange procurement and the installation schedule.
We install the mounting structure and panels, route DC and AC cables and fit the protection, inverter, metering and battery specified in the design.
We check connections and protection, start the system, configure monitoring and explain generation, alerts and operation.
We prepare the installation's technical documentation and guide you through the applicable stages with the distribution operator and electricity supplier.
We monitor the systems we install and remain available for maintenance, warranty support, diagnostics and future extensions.
Mounting systems are not universal accessories. They must suit the roof covering, supporting structure, wind loads, drainage and maintenance access.
Fixings must attach to structural members. Work around the tiles must preserve the roof's weatherproofing.
The fixing system is selected for the profile, thickness and supporting structure. Cable routes and fixing points must be protected against water ingress.
We assess the structure, waterproofing, ballast or mechanical fixings, row spacing and wind loads.
Requires suitable land, foundations or anchoring, a properly sized structure, a route to the inverter and cable protection.
The condition of the roof frame, covering and available fixing points.
Chimneys, dormers, trees, buildings, parapets and access areas.
The grid connection, distribution board, existing protection, earthing and possible cable routes.
An accessible, ventilated space, protected as required by the equipment specification.
The signal needed for monitoring and communication routes for the battery and meter.
Space for materials, lifting, scaffolding and other safe working equipment.
Details on roofs, timing, batteries, prosumer status and responsibility after installation.
Time on site depends on capacity, roof type, access, cable routes, battery storage and electrical work. The complete project also includes assessment, design, procurement, scheduling, documentation and grid connection stages.
Not automatically. The roof needs a suitable structure and covering, usable space and safe access. Any necessary repairs or structural assessment must be completed before installation.
This depends on the mounting system and existing warranty terms. Before work starts, the roofing manufacturer's and builder's requirements must be checked and an appropriate fixing solution selected.
The final quotation lists the included services and documents. Nectaria Solar prepares the system's technical documentation and supports the grid connection and prosumer process.
Yes, if the system is designed for it from the outset. Inverter selection, communication, battery voltage and backup operation should be assessed in advance to avoid costly replacements later.
For systems we install, Nectaria Solar handles technical support and its own workmanship and helps administer manufacturer warranties under the applicable documentation and contract.
Our approach
A good system starts with generation matched to consumption, careful installation and service that remains available.
Start with an indicative configuration or send us your project details directly.